What’s cooking at LimeRock Inn?
Guest Favorite: Baked Oats… your imagination is the only limit
One of our most requested breakfast recipes (we love sharing!) is our baked oats. The best part is that you can use almost any fruit to switch it up, making this a Breakfast staple. It is simple and quick to make and can be made for small or large gatherings (or just yourself!). We also love this recipe because you can make it gluten free, vegan friendly, and nut allergy friendly with a few simple changes!
Bon Appétit!
Ingredients:
4 cups old fashioned oats
1/2 cup brown sugar. For sweeter oats, increase sugar to your taste
1/2 cup chopped nuts of your choice (optional)
1/4 cup flour
1 stick unsalted butter (8 tbs)
1/2 cup milk (optional for pineapple recipe)
Fruit (mixed berries, peaches, apples, pineapple…)
Lets get cooking: Serving size 8
Preheat oven to 350 F and melt unsalted butter. You can use vegan butter for dairy free oats.
Mix dry ingredients together in a large bowl. For gluten free, we like to use King Arthur Gluten Free flour.
Mix melted butter into oat mix. For pineapple oats without berries, add 1/2 cup of milk to oats. This is optional depending on how crunchy you like your oats.
Coat a 9 x 13 baking dish with butter or nonstick spray. You can also use ramekins for quick serve and less mess! This recipe makes 10-12 small ramekins or 6-8 medium ramekins. Coat ramekins and place on a baking sheet with parchment paper for easy clean up.
Place fruit of choice on the bottom of baking dish. We love: 1 - fresh or frozen triple mixed berries (blueberry, raspberry, & blackberries); 2 - cinnamon apple (cook down apples prior until slightly tender); 3 - pineapple (add milk to oats for a less crunchy oat); 4 - berries & peaches; 5 - a combo of above or your own favorites! We also like to add cranberries for a little tartness.
Crumble the oat mix on top of fruit
Bake for 35-40 minutes or until lightly brown
Enjoy warm!
What’s cooking at LimeRock Inn?
Our secret to perfectly poached eggs - every time
One of our favorite breakfast dishes to serve is a classic Eggs Benedict. A rich and creamy Hollandaise sauce combined with a savory ham just goes so well together. It is also fun to switch it up and plate this scrumptious dish on a toasted croissant, a bed of spinach, or even a crab cake! For the LimeRock, the key to getting this dish just right is the poaching of the egg. It not only needs to be cooked just so but we also aim to get a beautifully presented egg each time. Below are our tips for serving up a perfectly poached (and pretty) egg!
Bon Appétit!
Fresh eggs
You might have heard that the secret to poaching eggs is to add a little vinegar. At the LimeRock, we never add vinegar. We have found one of the keys to the perfect poach is how fresh the eggs are. To tell if your eggs are fresh, simply place them in a bowl of cold water. There is a small air sac in the egg and the fresher they are, the smaller it is. Very fresh eggs will sit flat on the bottom. If one side stays on the bottom but the other floats up, the egg is still okay to eat but is less fresh. If the egg floats, the egg has gone bad and should be thrown out. For our poached eggs, we use eggs that stay flat at the bottom.
bring out the strainer
The next secret to our perfectly poached eggs is that we always strain the whites before cooking. Eggs actually have two egg whites, a thick and thin. You want to remove the thin through a strainer and keep only the thick. This will reduce the “white wisps” that surround many poached eggs.
simmer and not boil
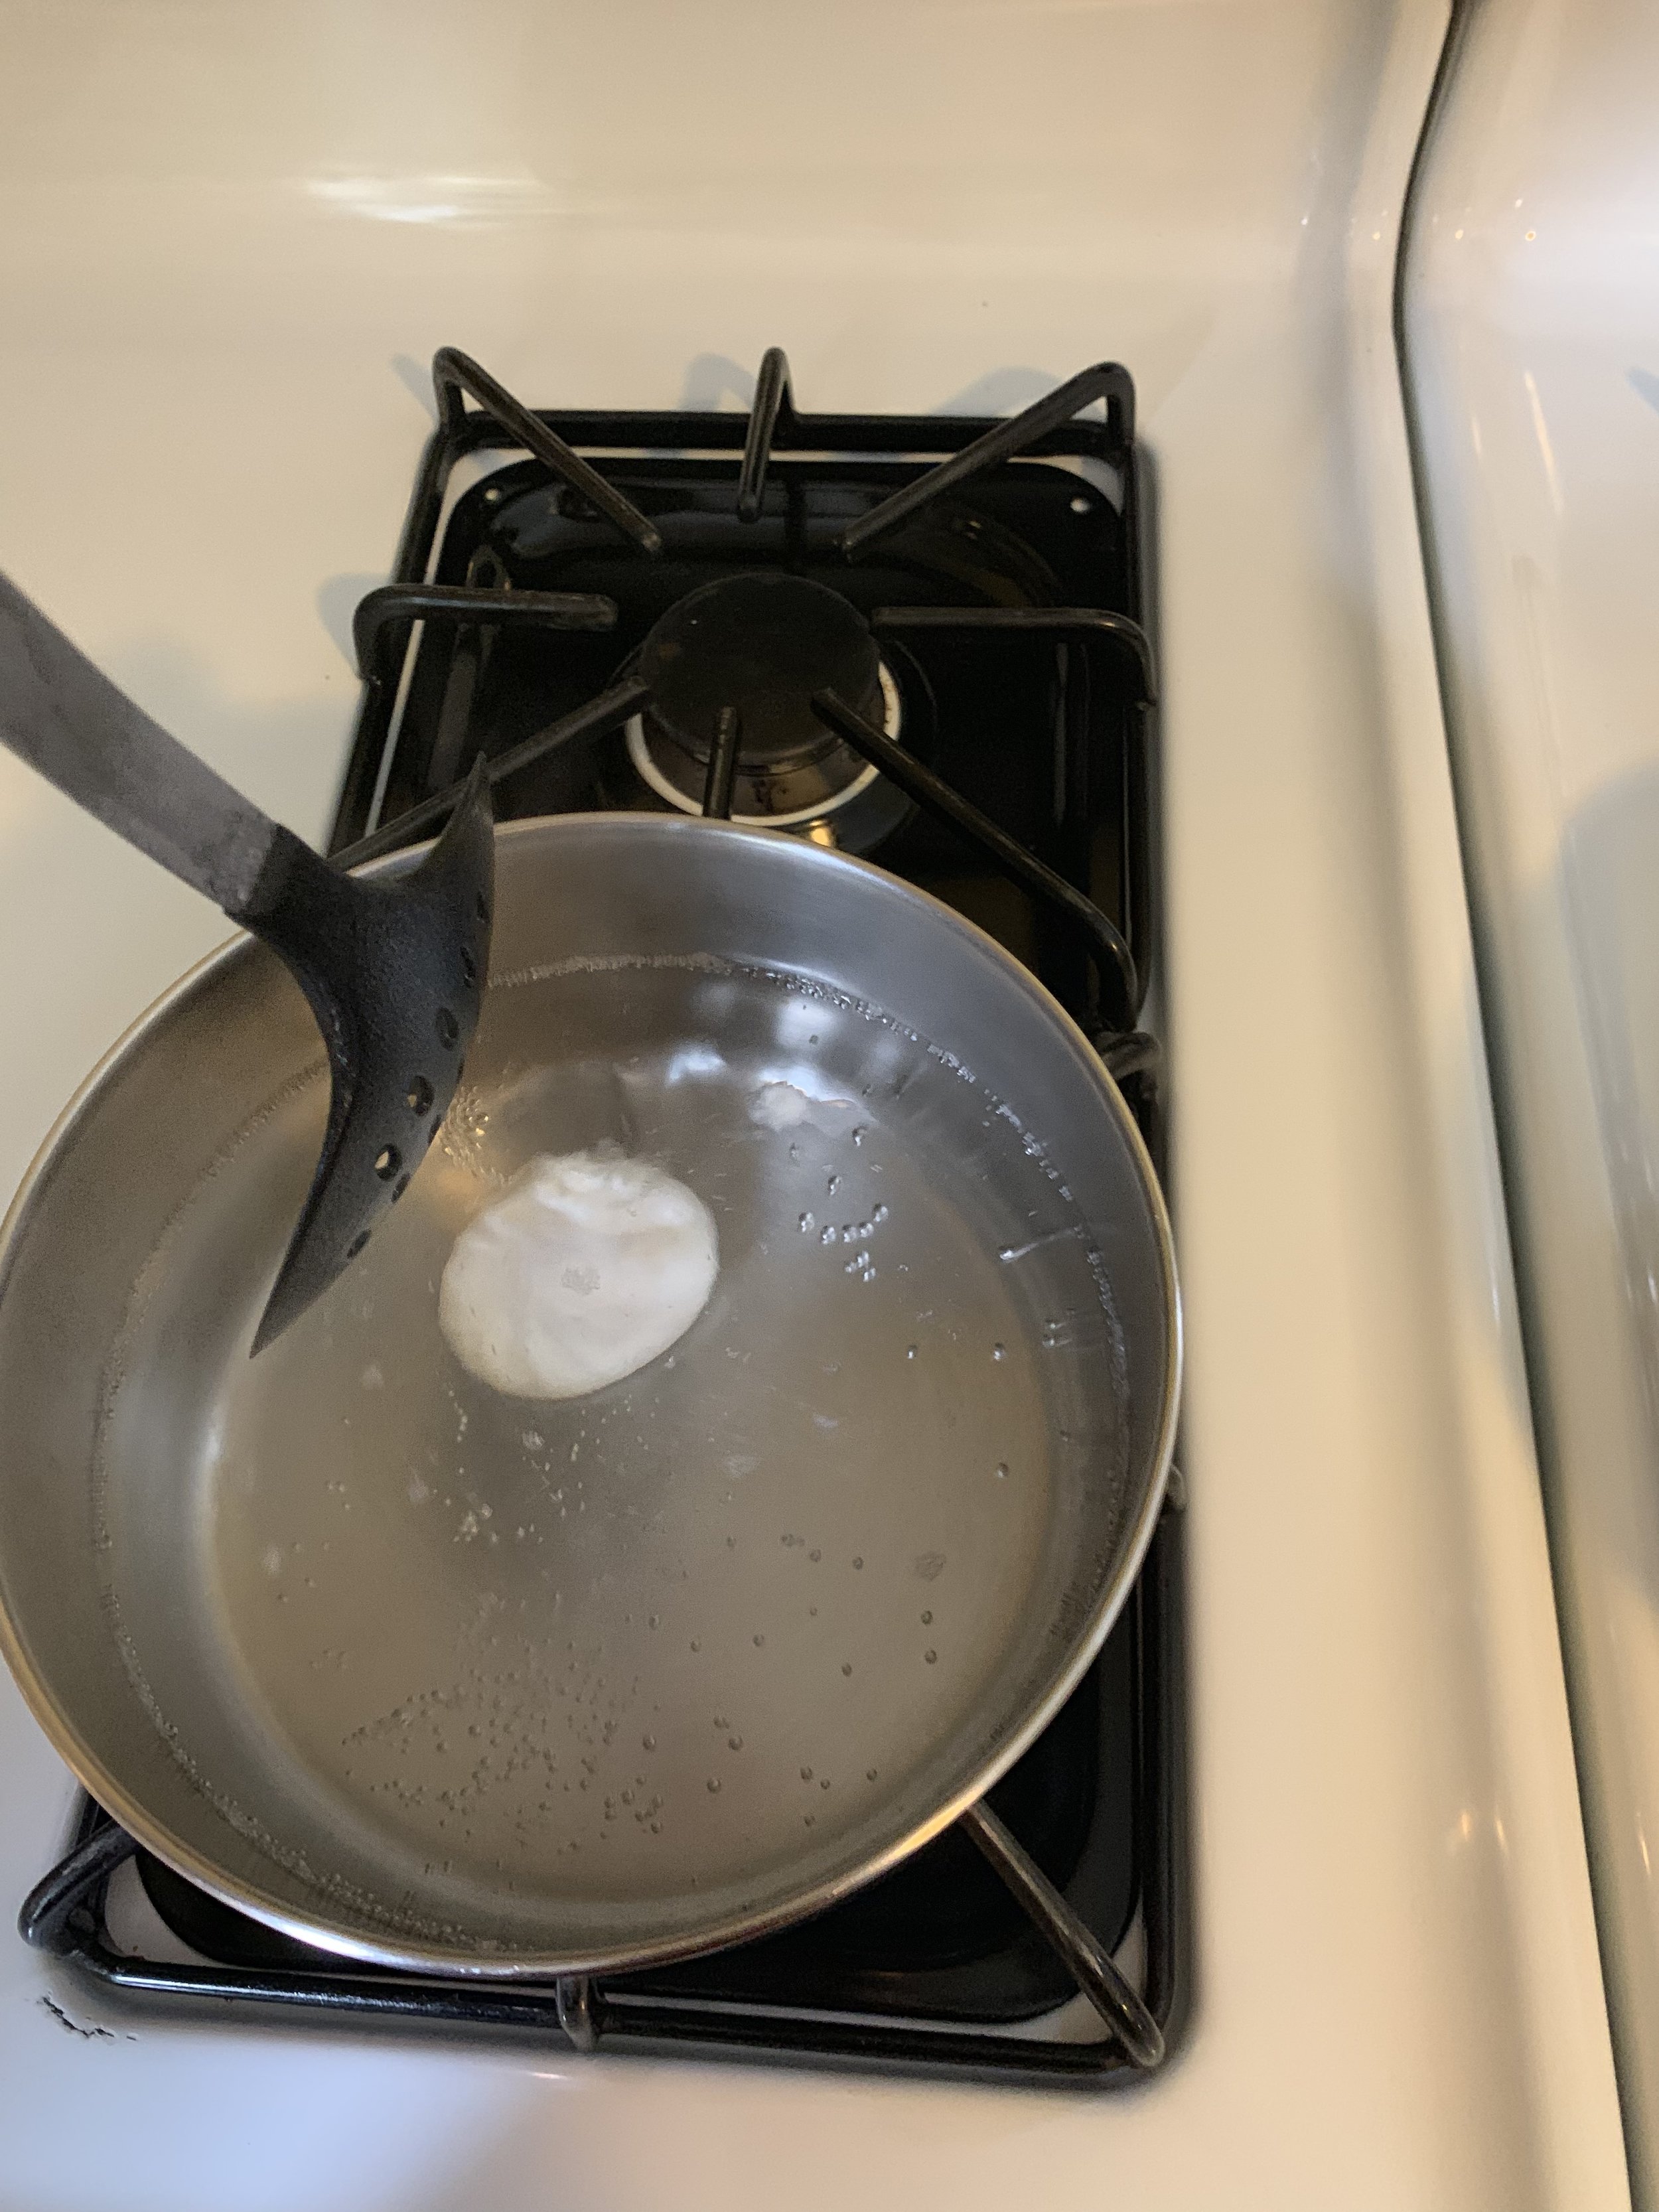
The next step to a perfect poach is adding the eggs (gently) to a simmering pot of water. The water shouldn’t be boiling and we put the strained eggs in a small ramekin that is lowered into the water. With a little roll, the egg whites nicely set around the yolk for a nice egg shape. We set a timer for 2 minutes and 45 seconds and gently stir the water above the egg to keep it rolling in the water - checking the yolk and adding a few seconds depending on the size will give you a wonderfully poached and runny yolk.
plating
The next step is to plate and add your creamy Hollandaise sauce. We will post a super simple blog on how to make a blender version of the sauce next! Very simple and delicious. We are partial to croissants for a base but your imagination is the limit!


